Easy Way to Install a Universal Projector Mount
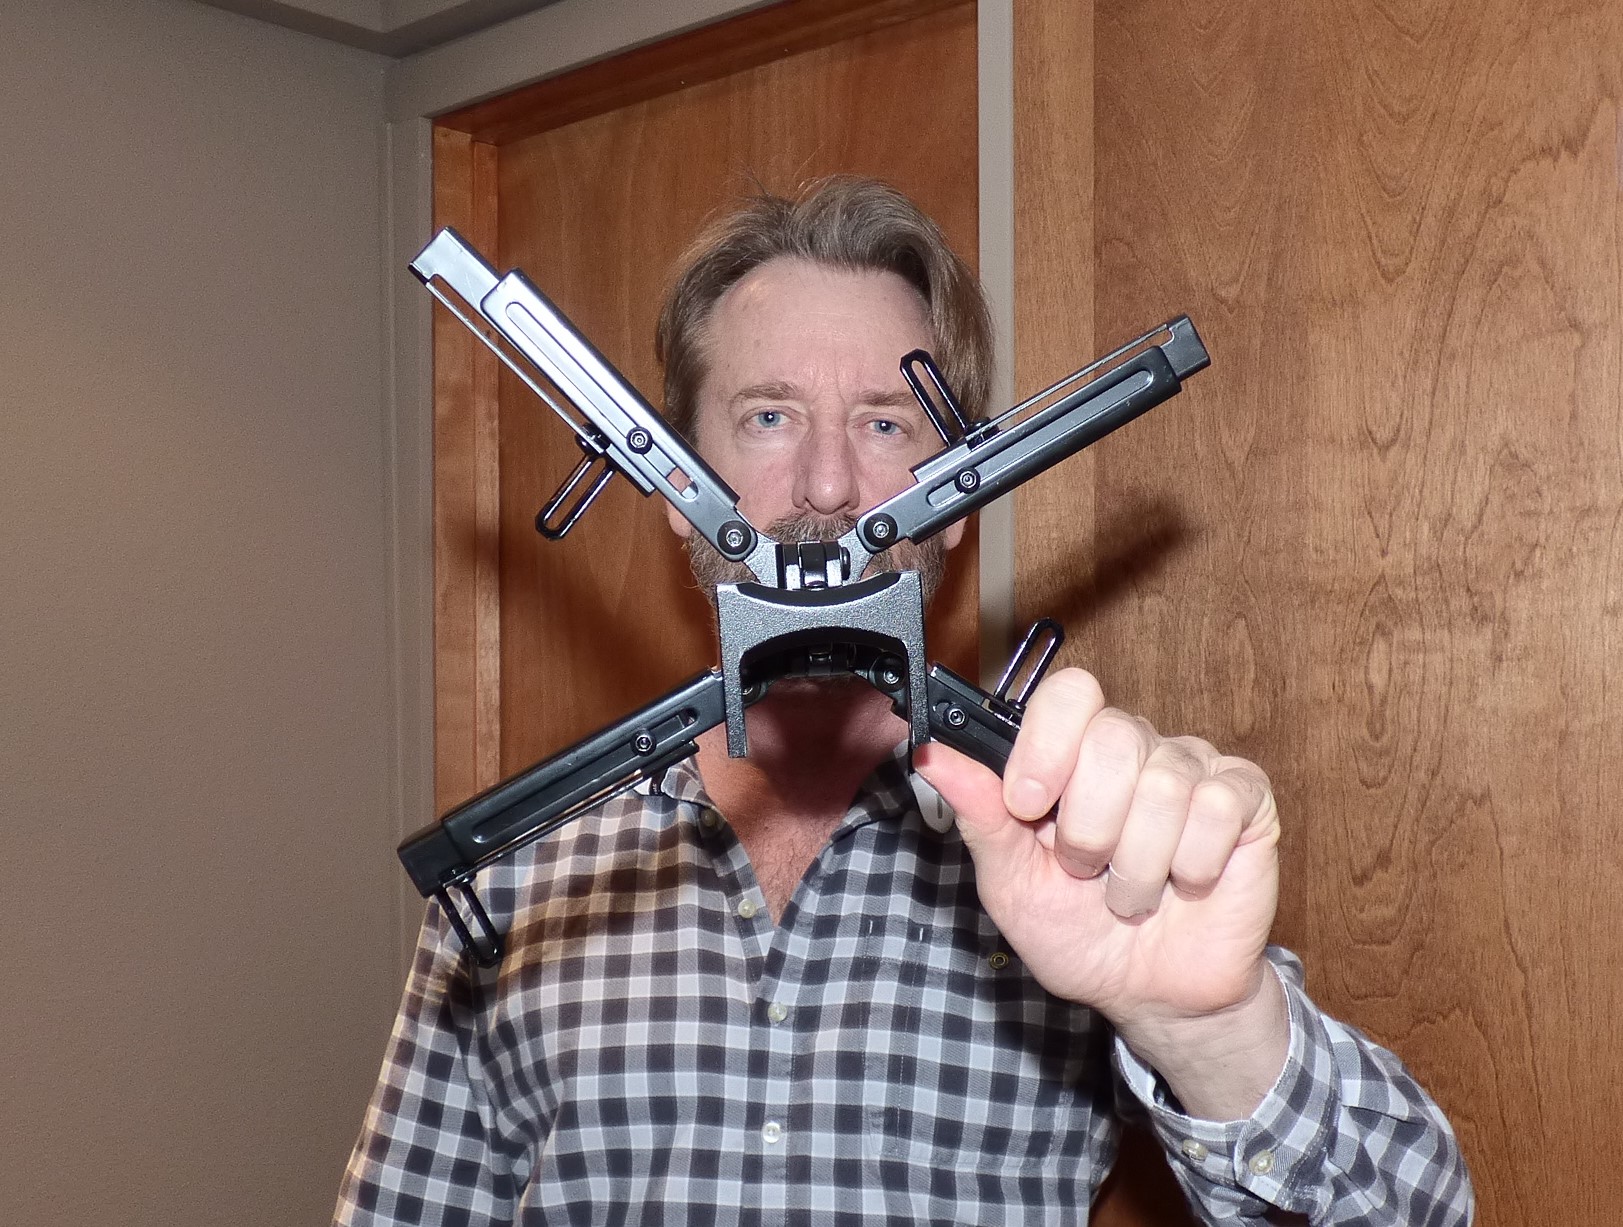
Universal ceiling mounts are meant to be applicable to all video projectors ever made. Yet when you try to apply it to your projector, it simply does not seem to fit. What’s the easiest way to do this?
Easy Way
Loosen every single imaginable Allen screw on the projector mount. Next, attach the mount to the projector, straighten it out, then tighten the Allen screws.
Details
Universal ceiling mounts mean that you don’t have to try matching the mount to the projector. After all of the brainwork you’ve expended thinking about HDMI cables, chips, lumens, and contrast levels, who wants to think about a dumb, cold chunk of metal?
The idea behind universal mounts is this: by adding enough excess hardware to the mount, the engineers behind the mount present enough opportunities for the mount to match the projector. Simply put, universal mounts are over-engineered.
When I tried installing the Crimson JR Universal Mount on my Optoma UHD60 projector and it didn’t fit, I was certain that I had received the wrong mount. I called the projector company and they told me that it was fine to attach the projector at only 3 points, even though both the mount and the Optoma UHD60 have 4 points of contact. I had told them which type of projector I have (some projectors do have only 3 contact points), but I later realized that they hadn’t taken that into account.
I quickly saw that this was not right. If the 3 points were arranged in a triangular fashion, maybe it would work. But the Optoma’s third point of contact (and the fourth) were off-center. So, when I tried the mount, it instantly tipped to the side. I realized that the tech guy’s information was incorrect.
Place Mount on the Projector 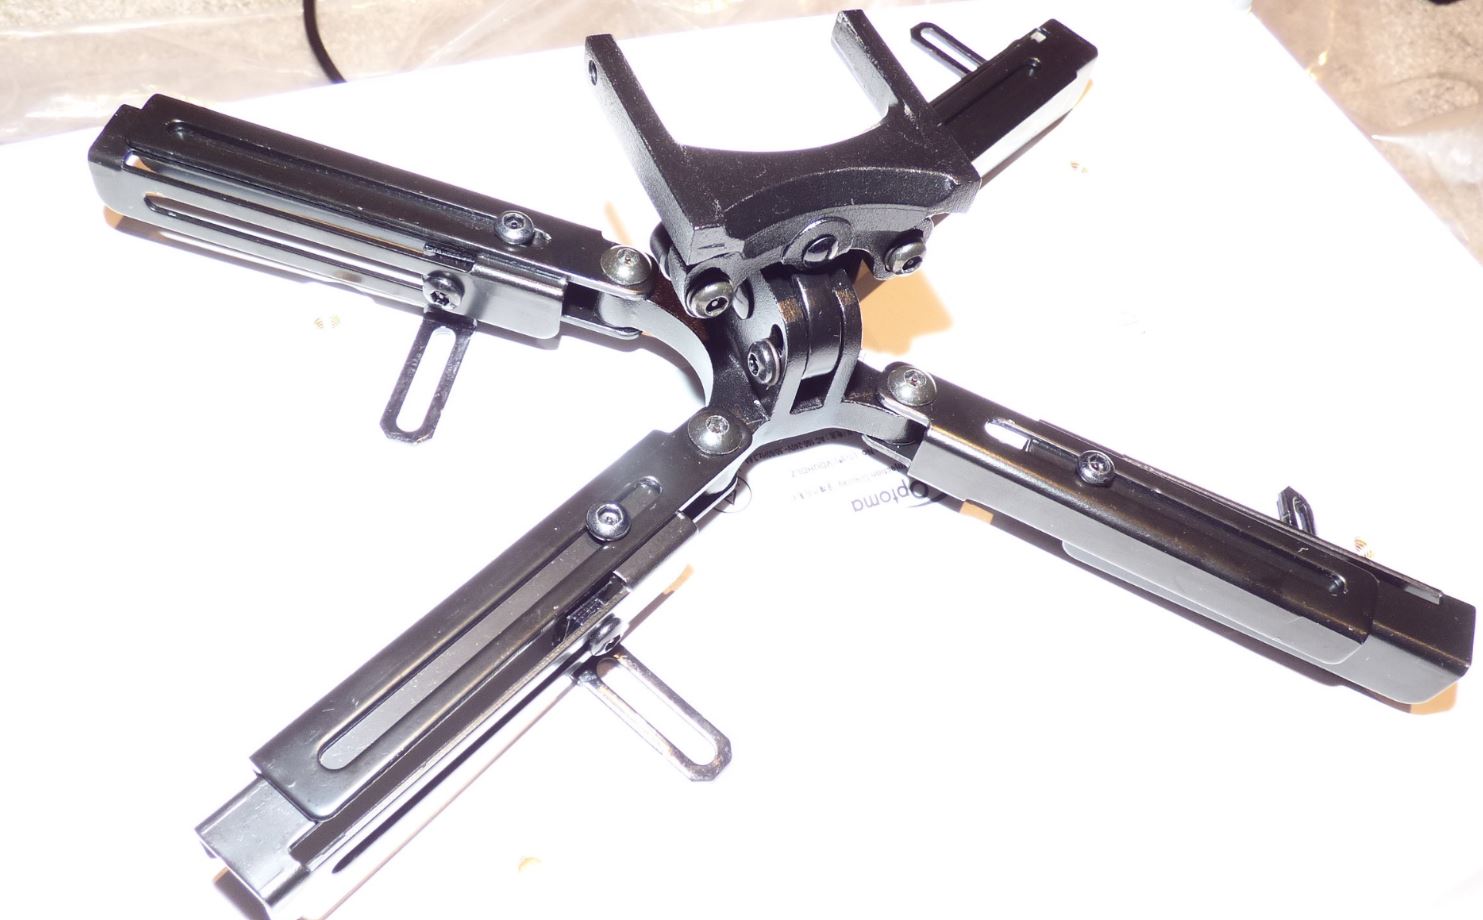
Loosely place the mount on the back of the projector. You can even keep it on the ground at this point, if you would like.
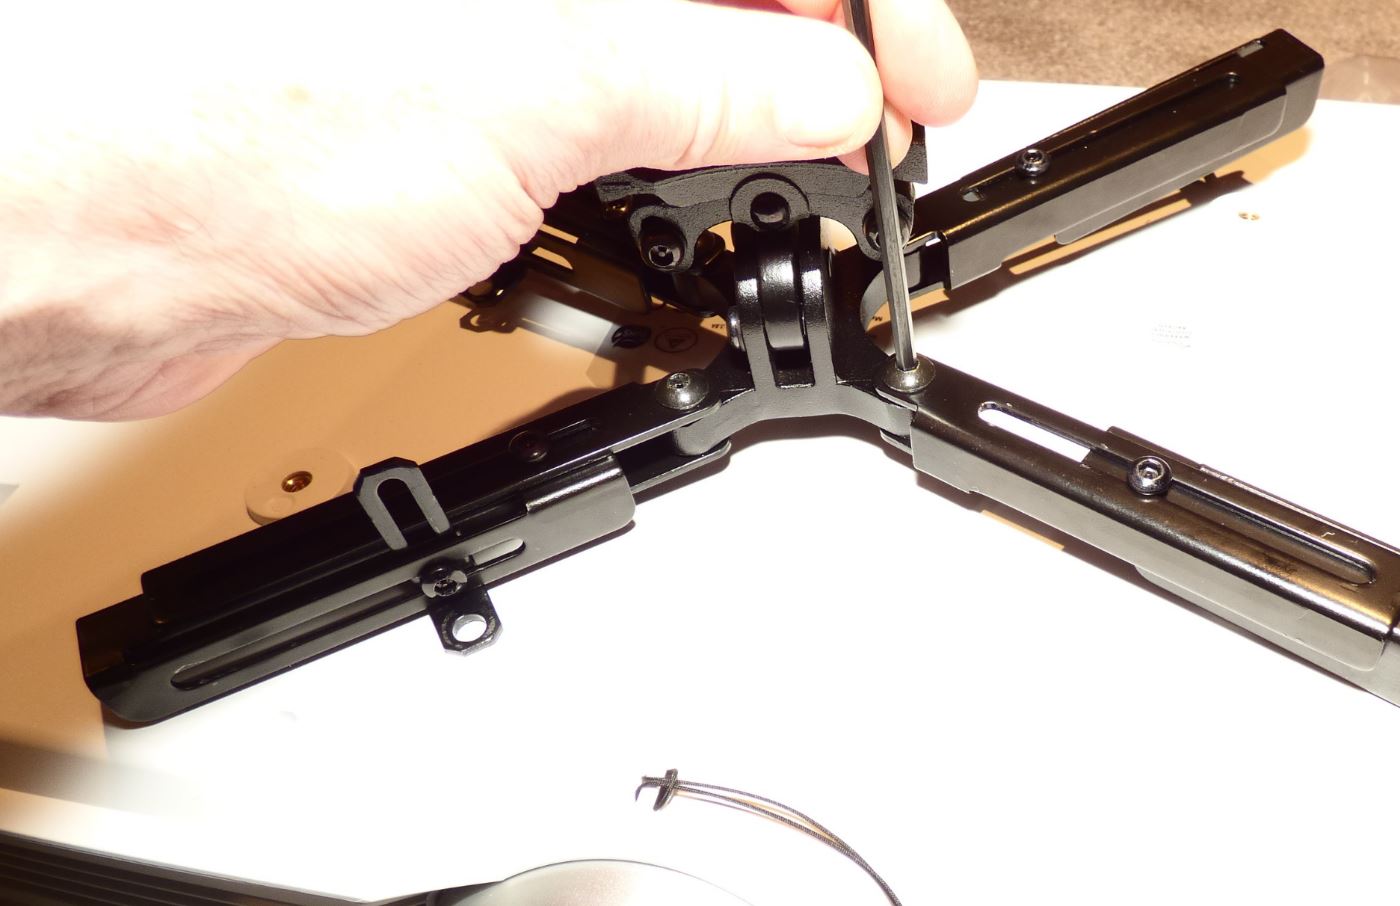
Loosen Innermost Screws
These screws control rotation of the arms. Slightly loosen them.
Loosen These Screws at the End 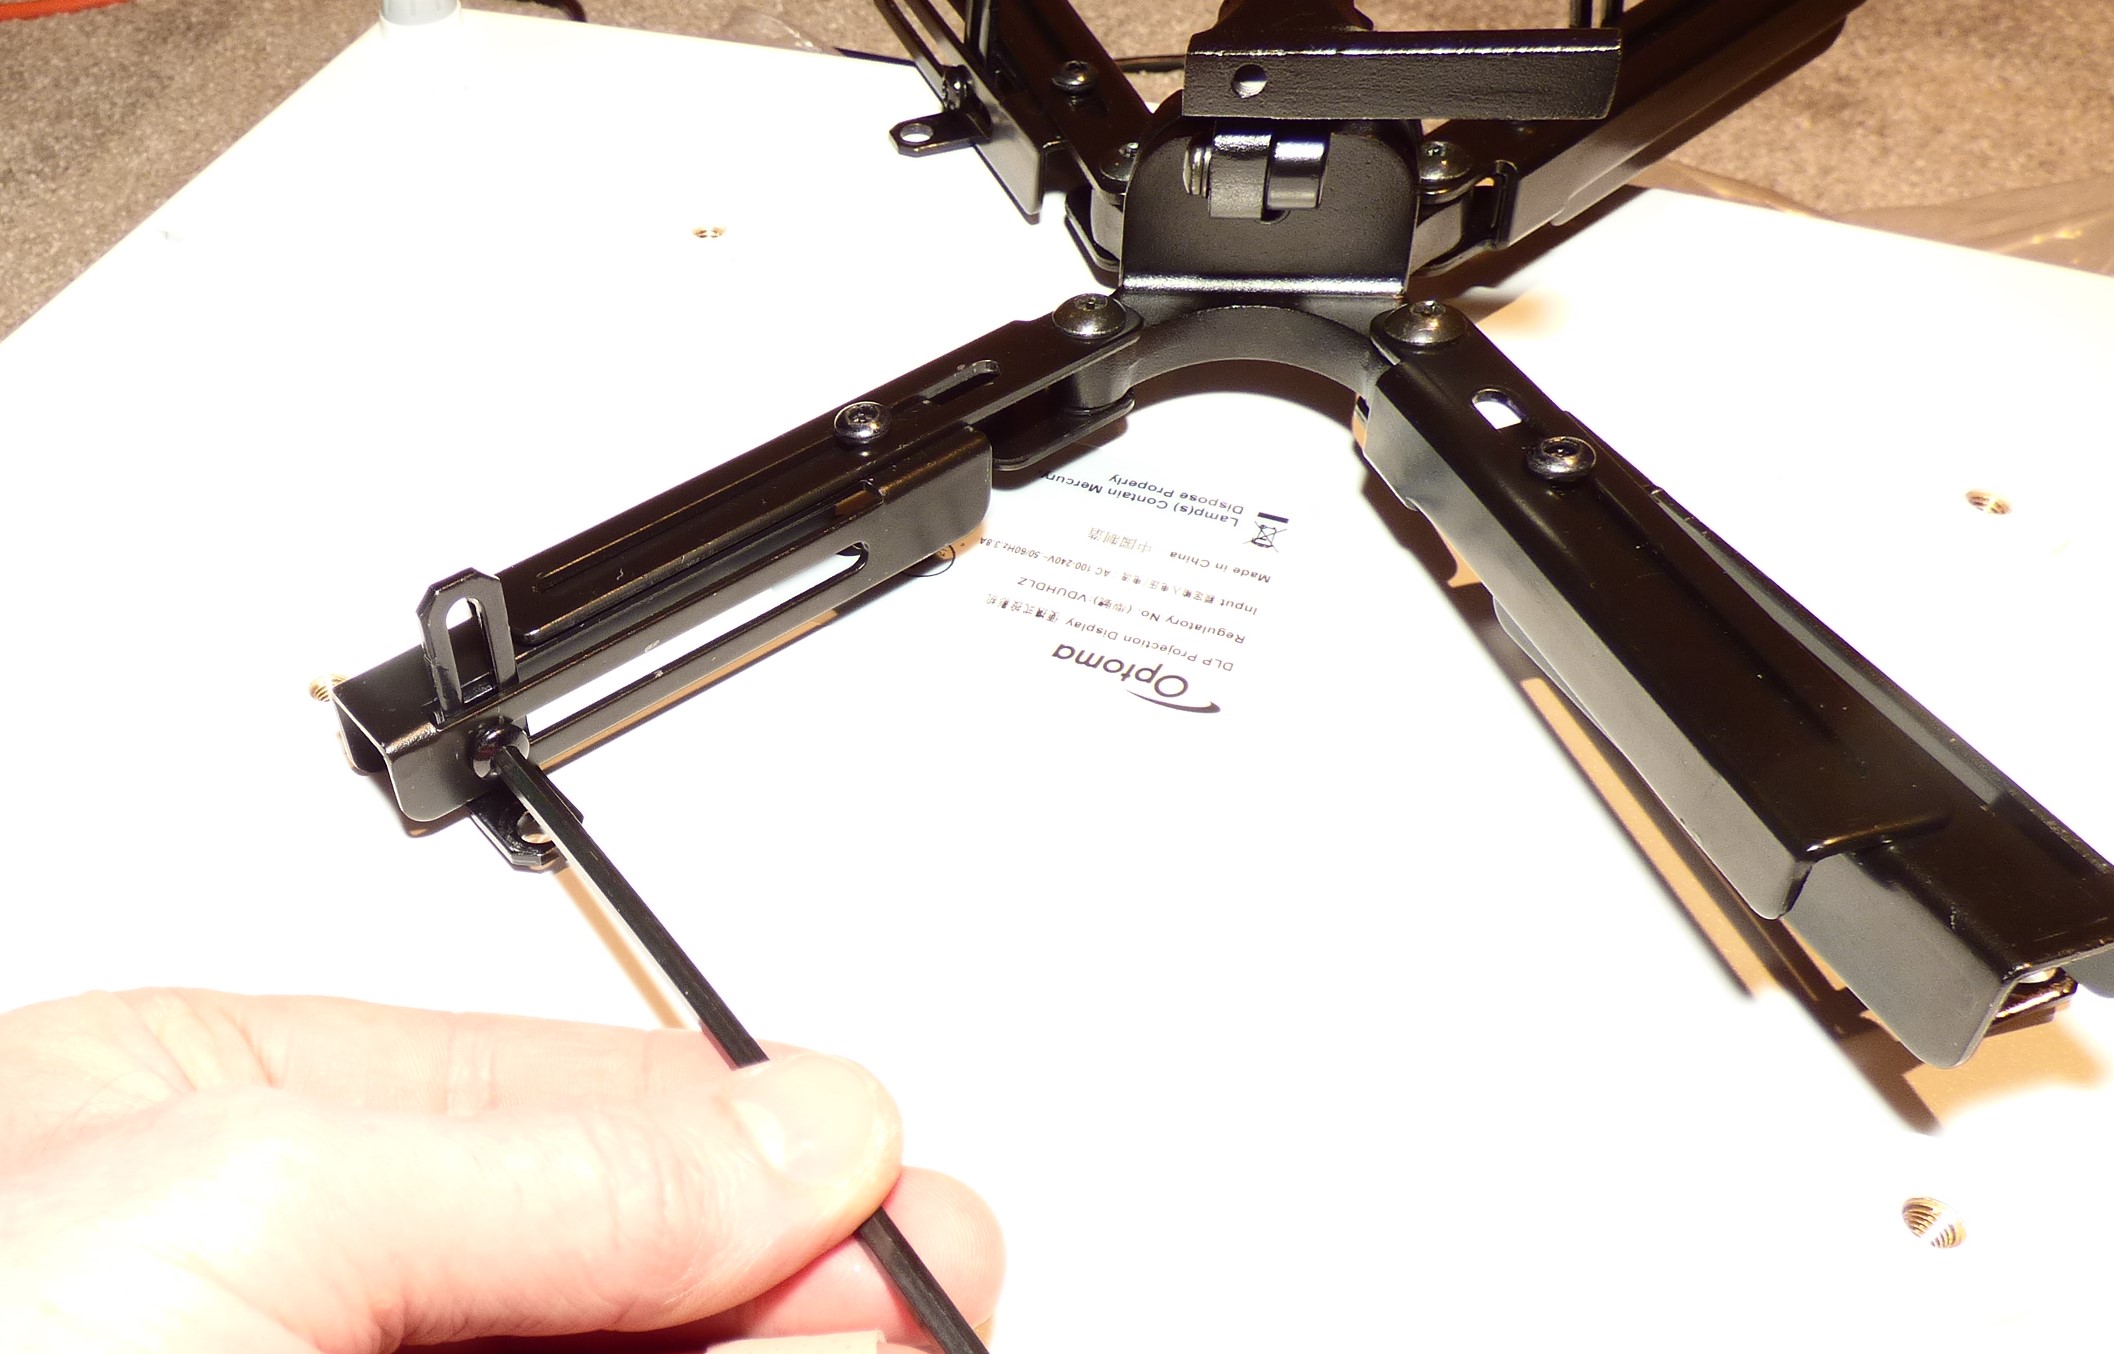
It is easy to miss these Allen screws because they are on the side, not top-facing. Loosen them enough so that the height adjustment bracket can move.
Loosen Middle Allen Screws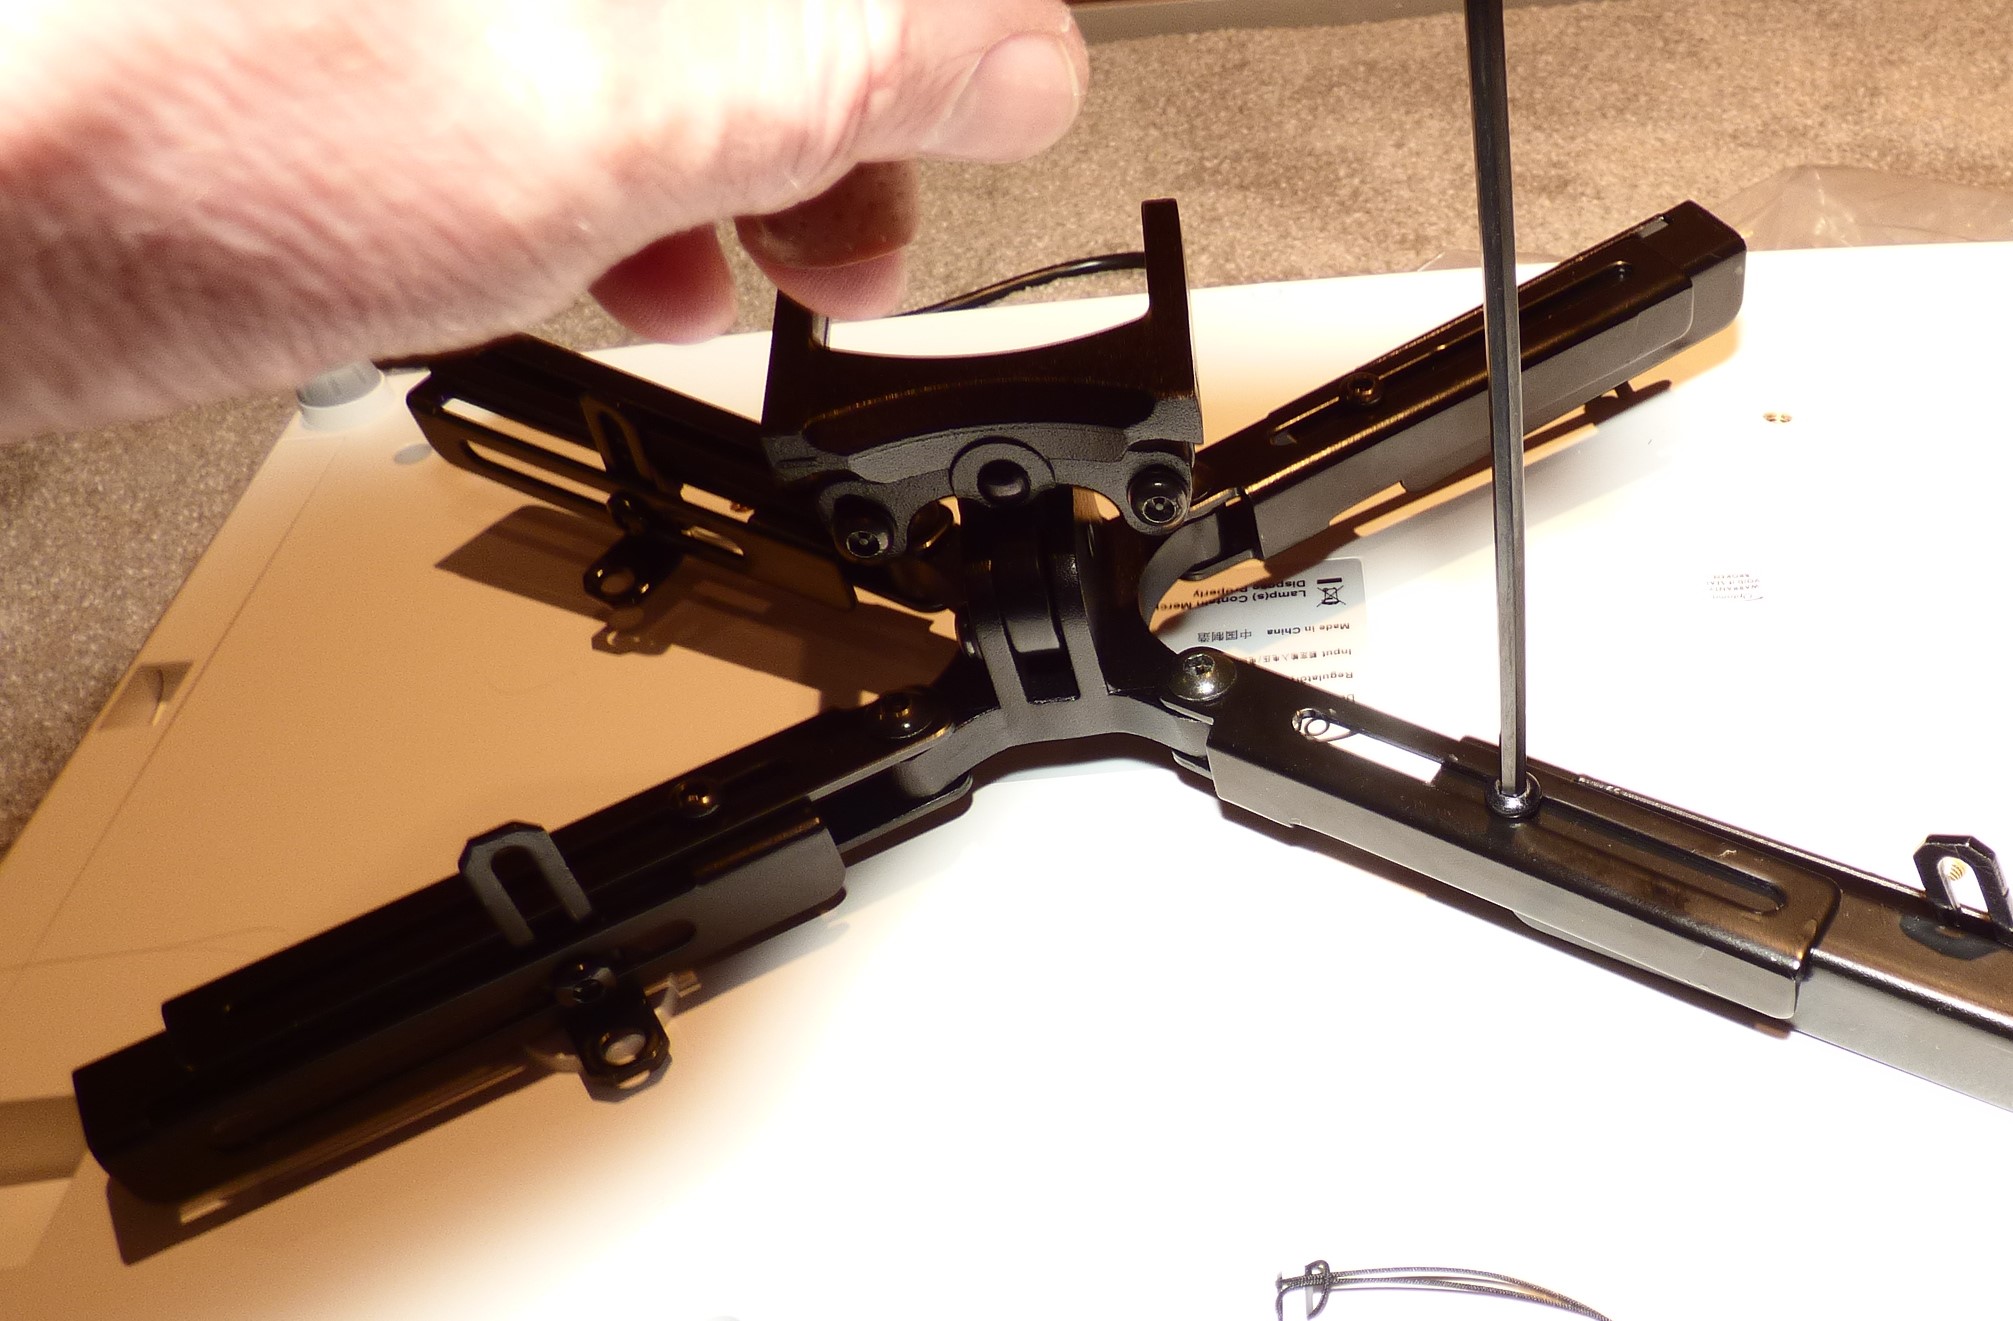
Loosen the middle Allen screws, which control the length of the articulated arms.
No Need to Loosen These
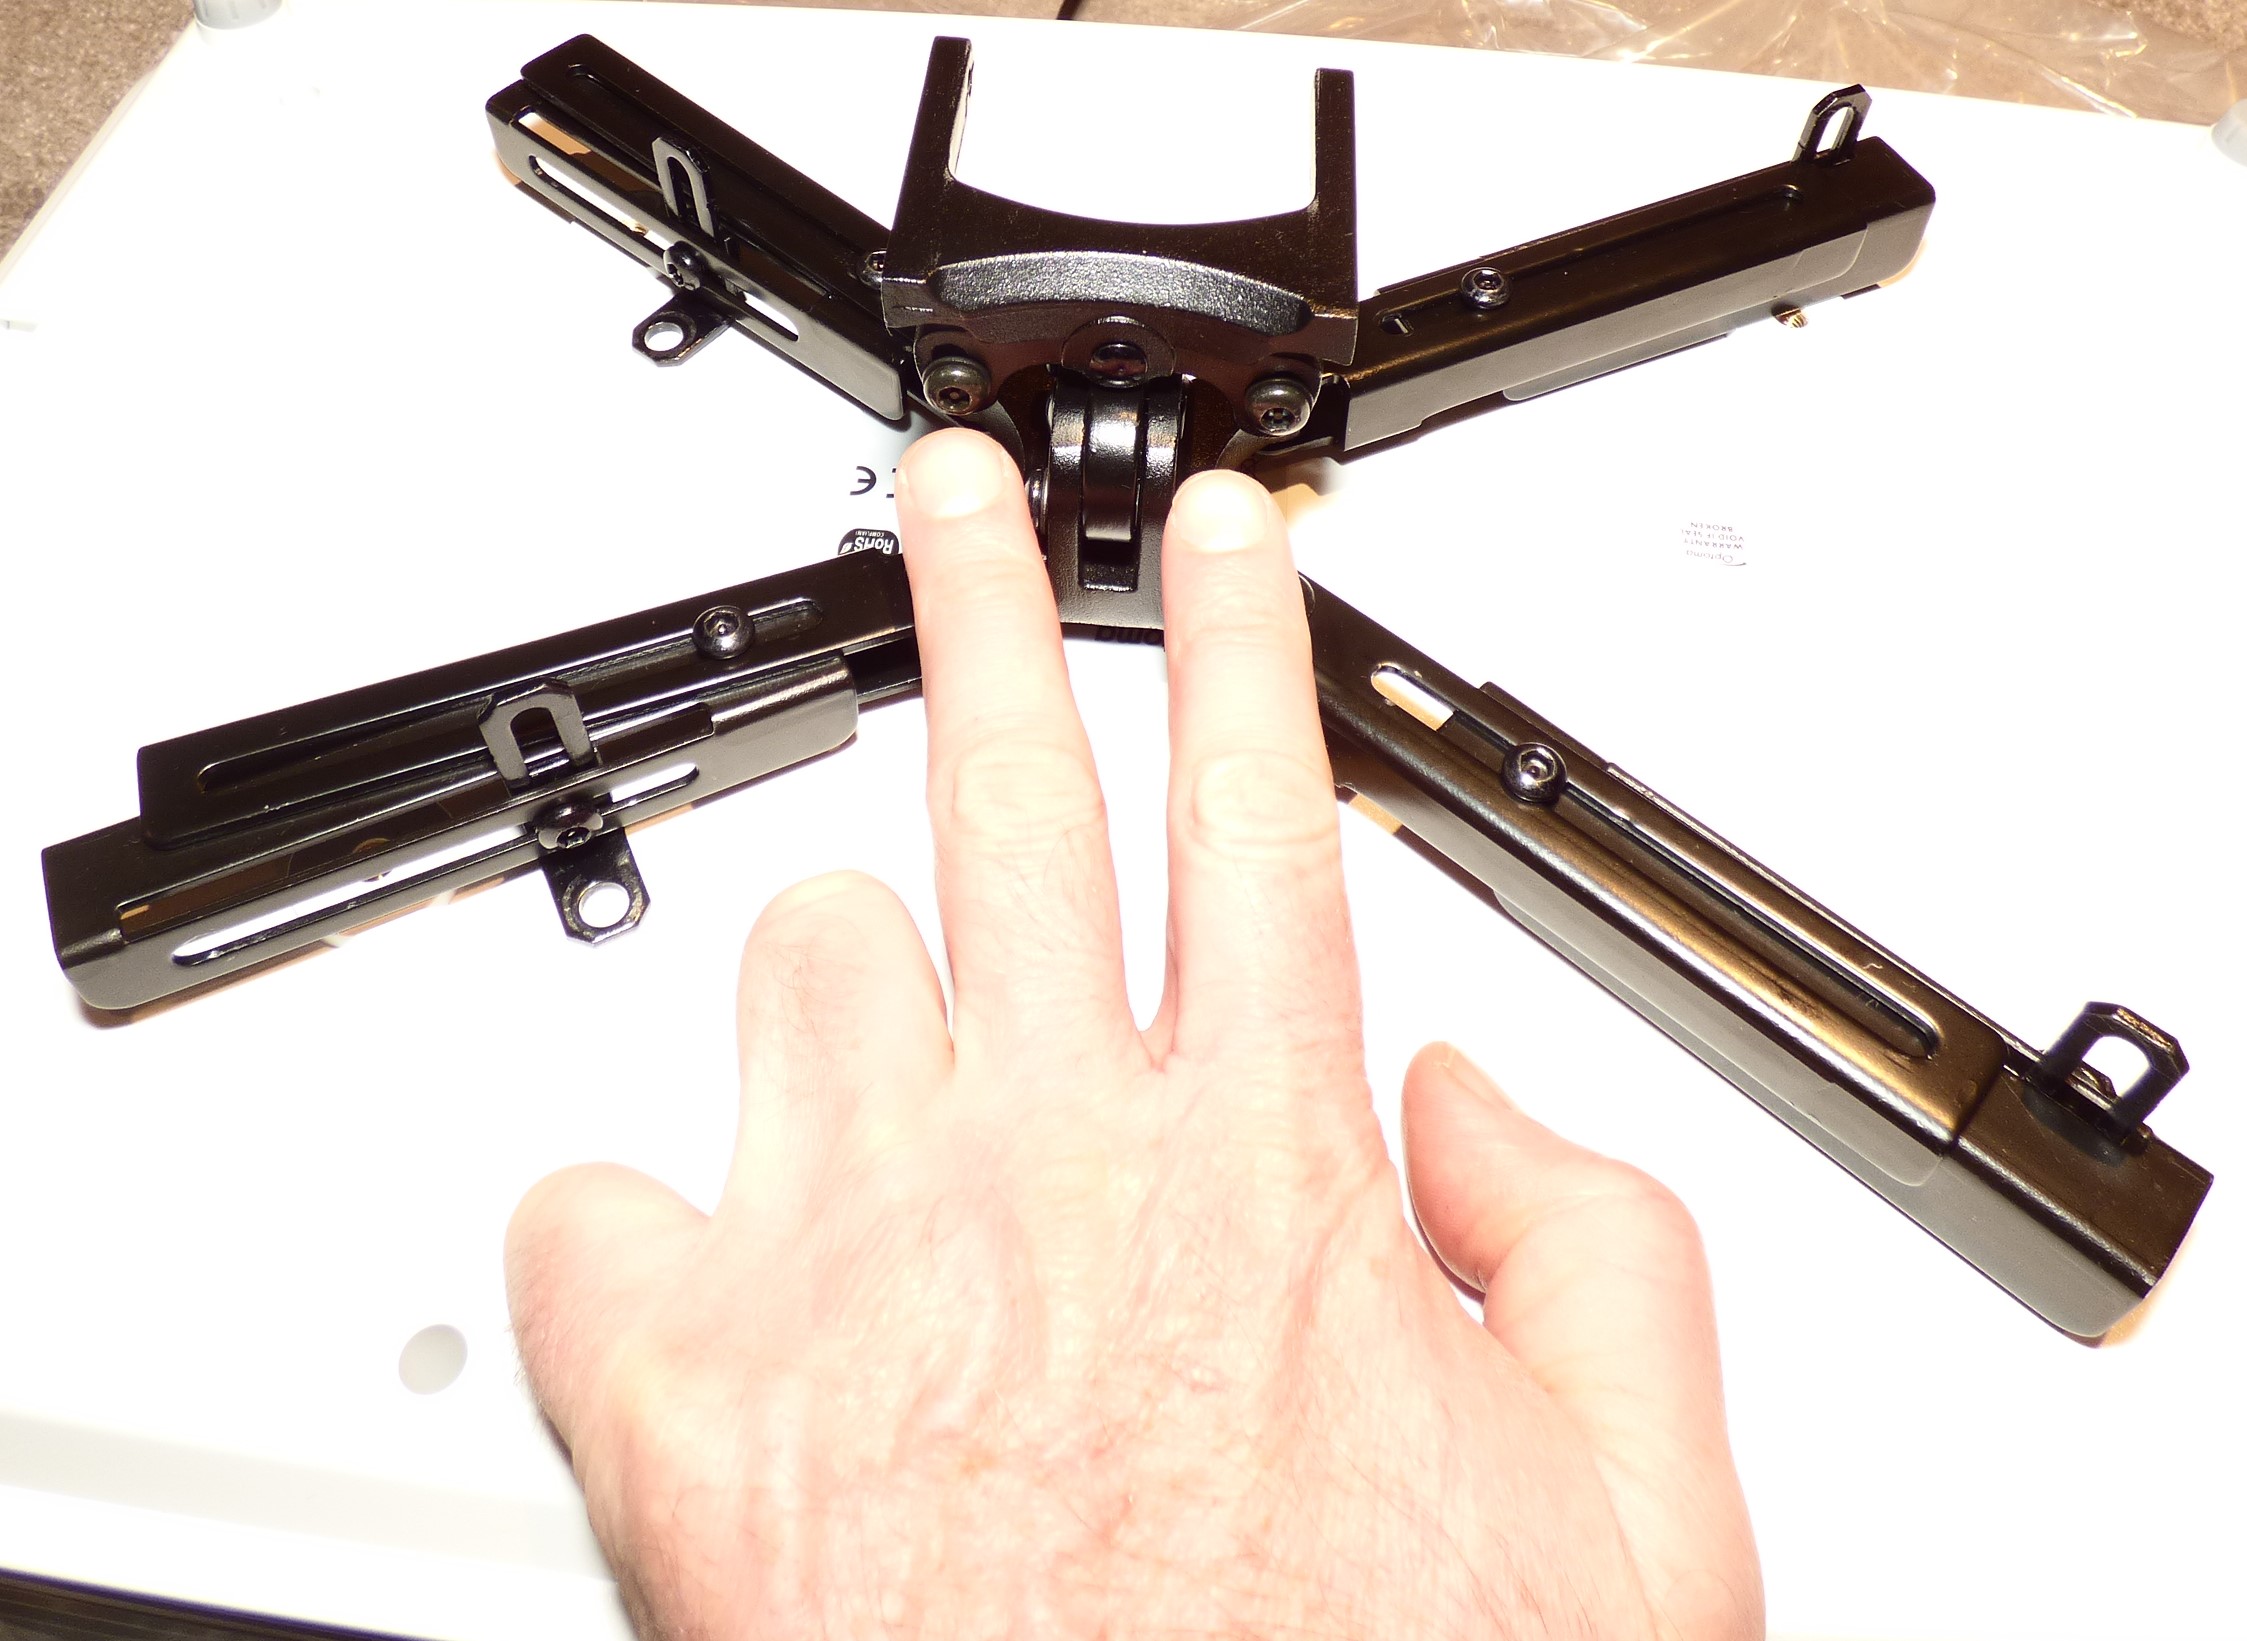
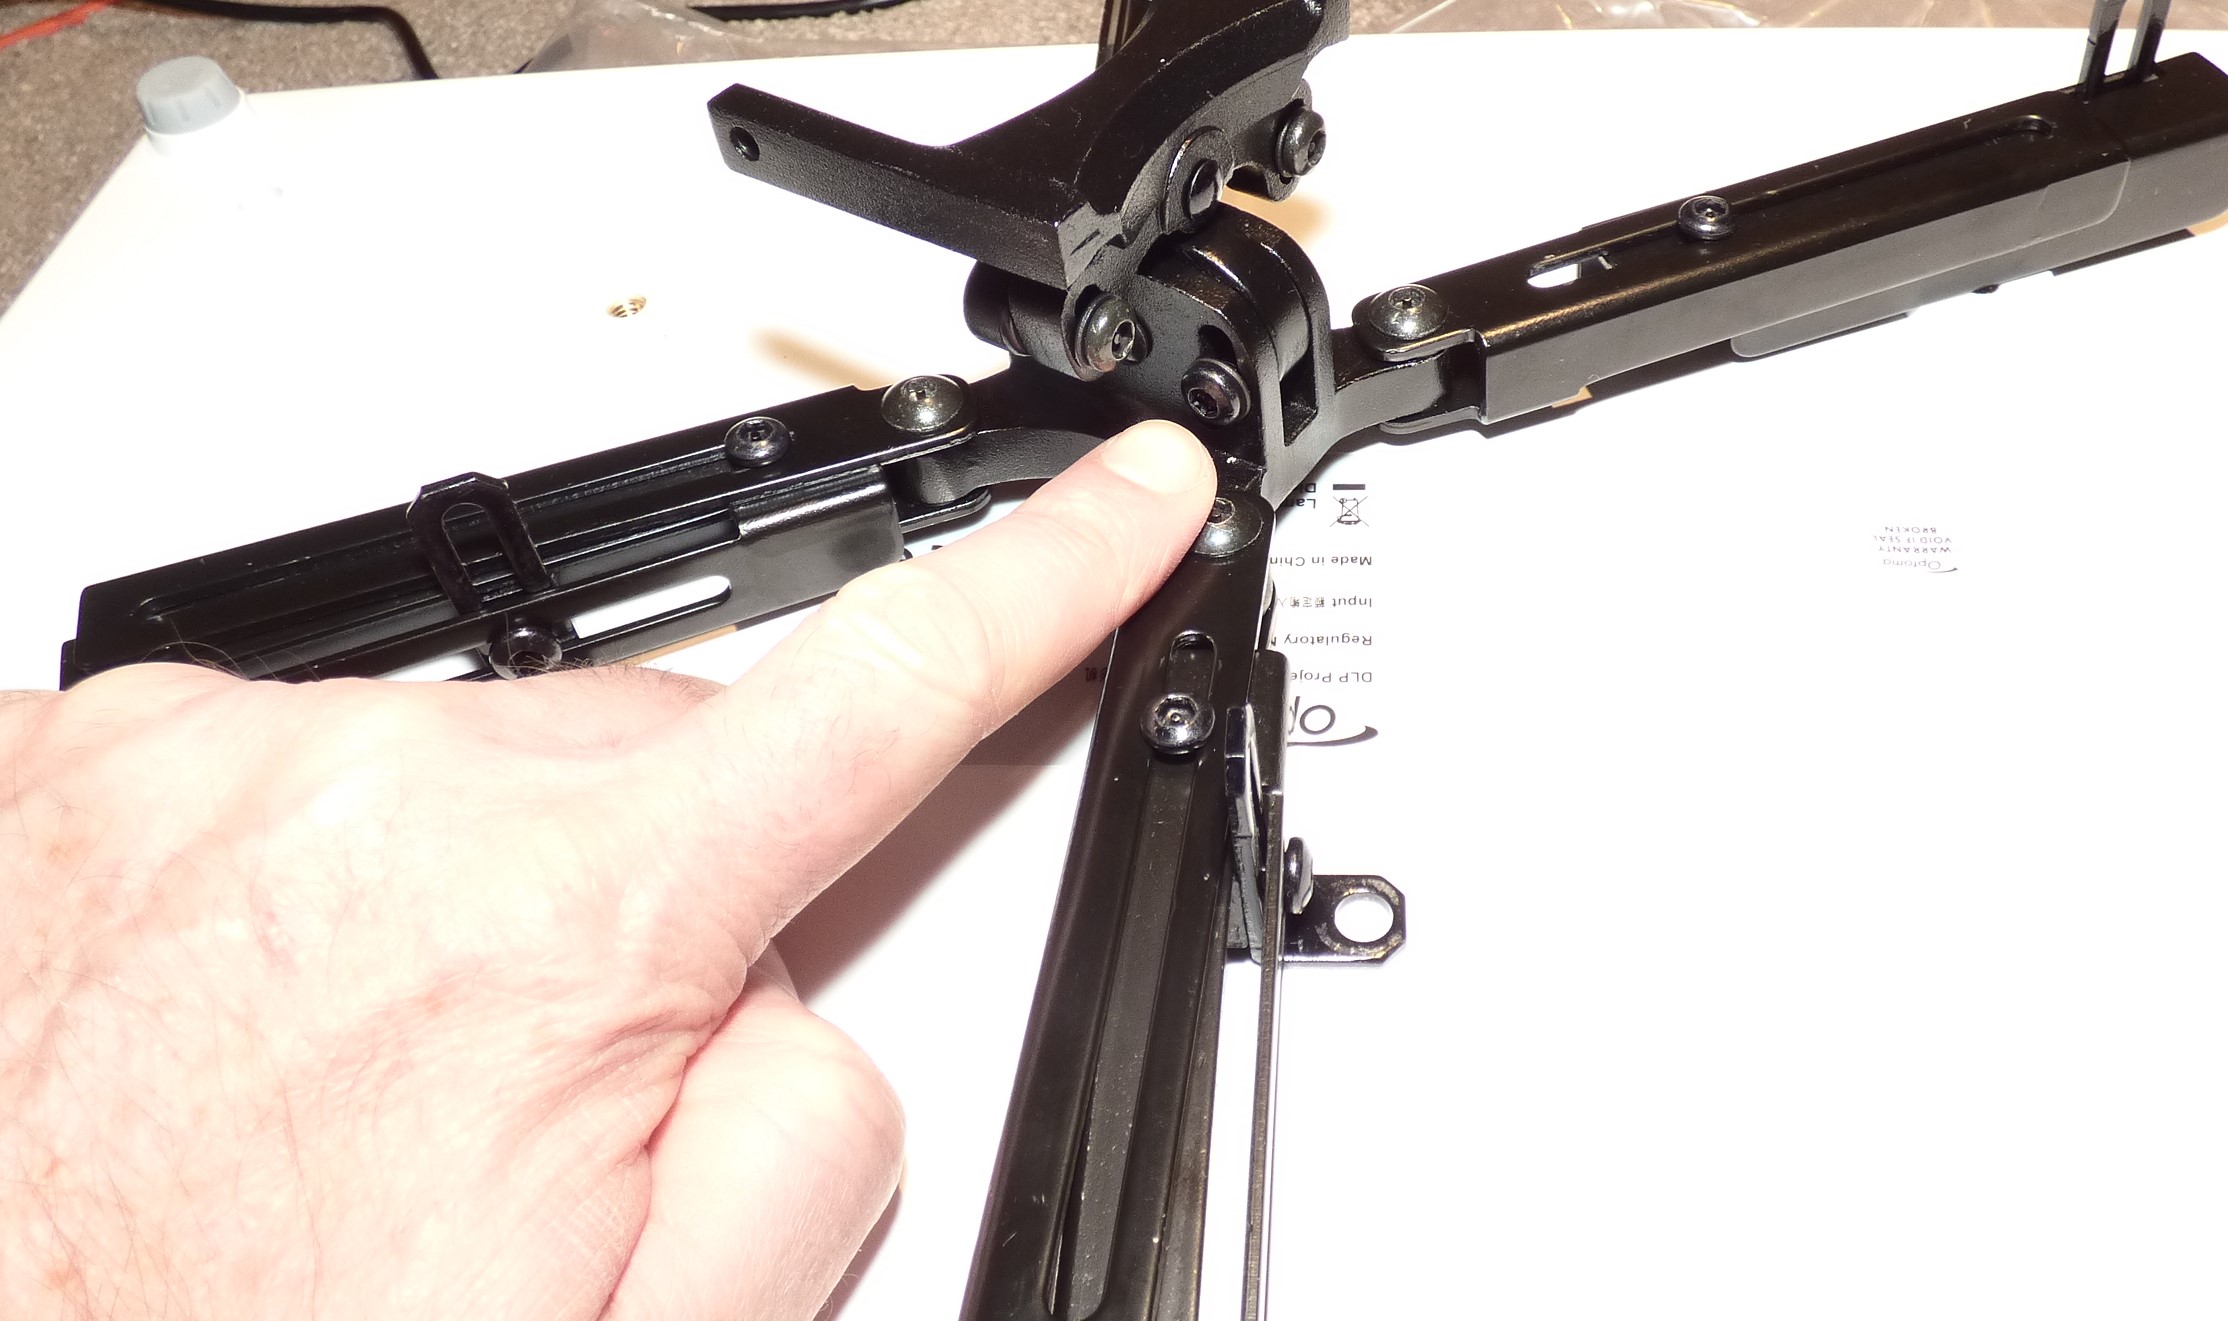
This Allen screws have nothing to do with securing the mount to the projector. But if you want to, you can loosen them.
Screw the Mount to the Projector
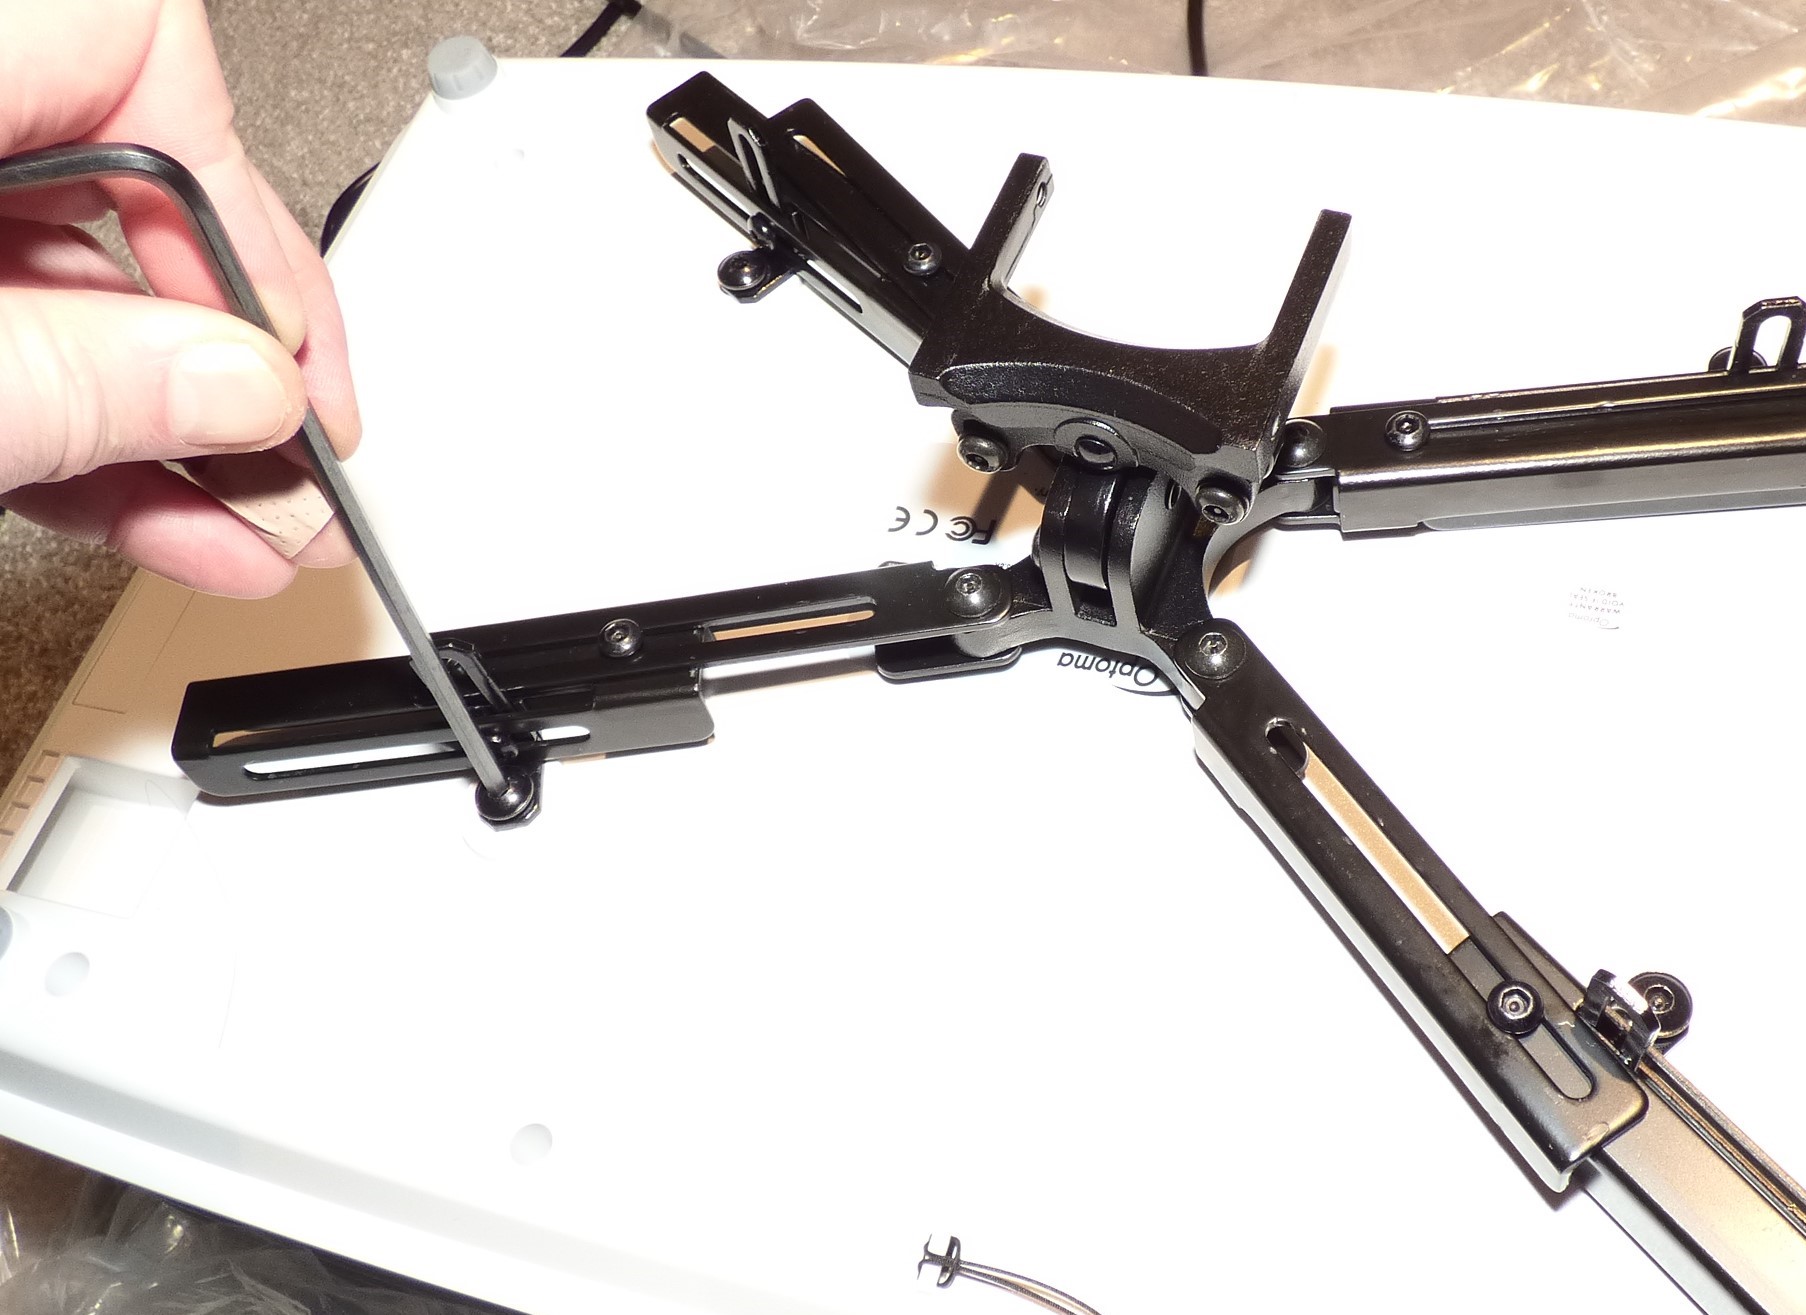
With the mount’s Allen screws are still loosened, attach the mount firmly to the projector.
Adjust Mount
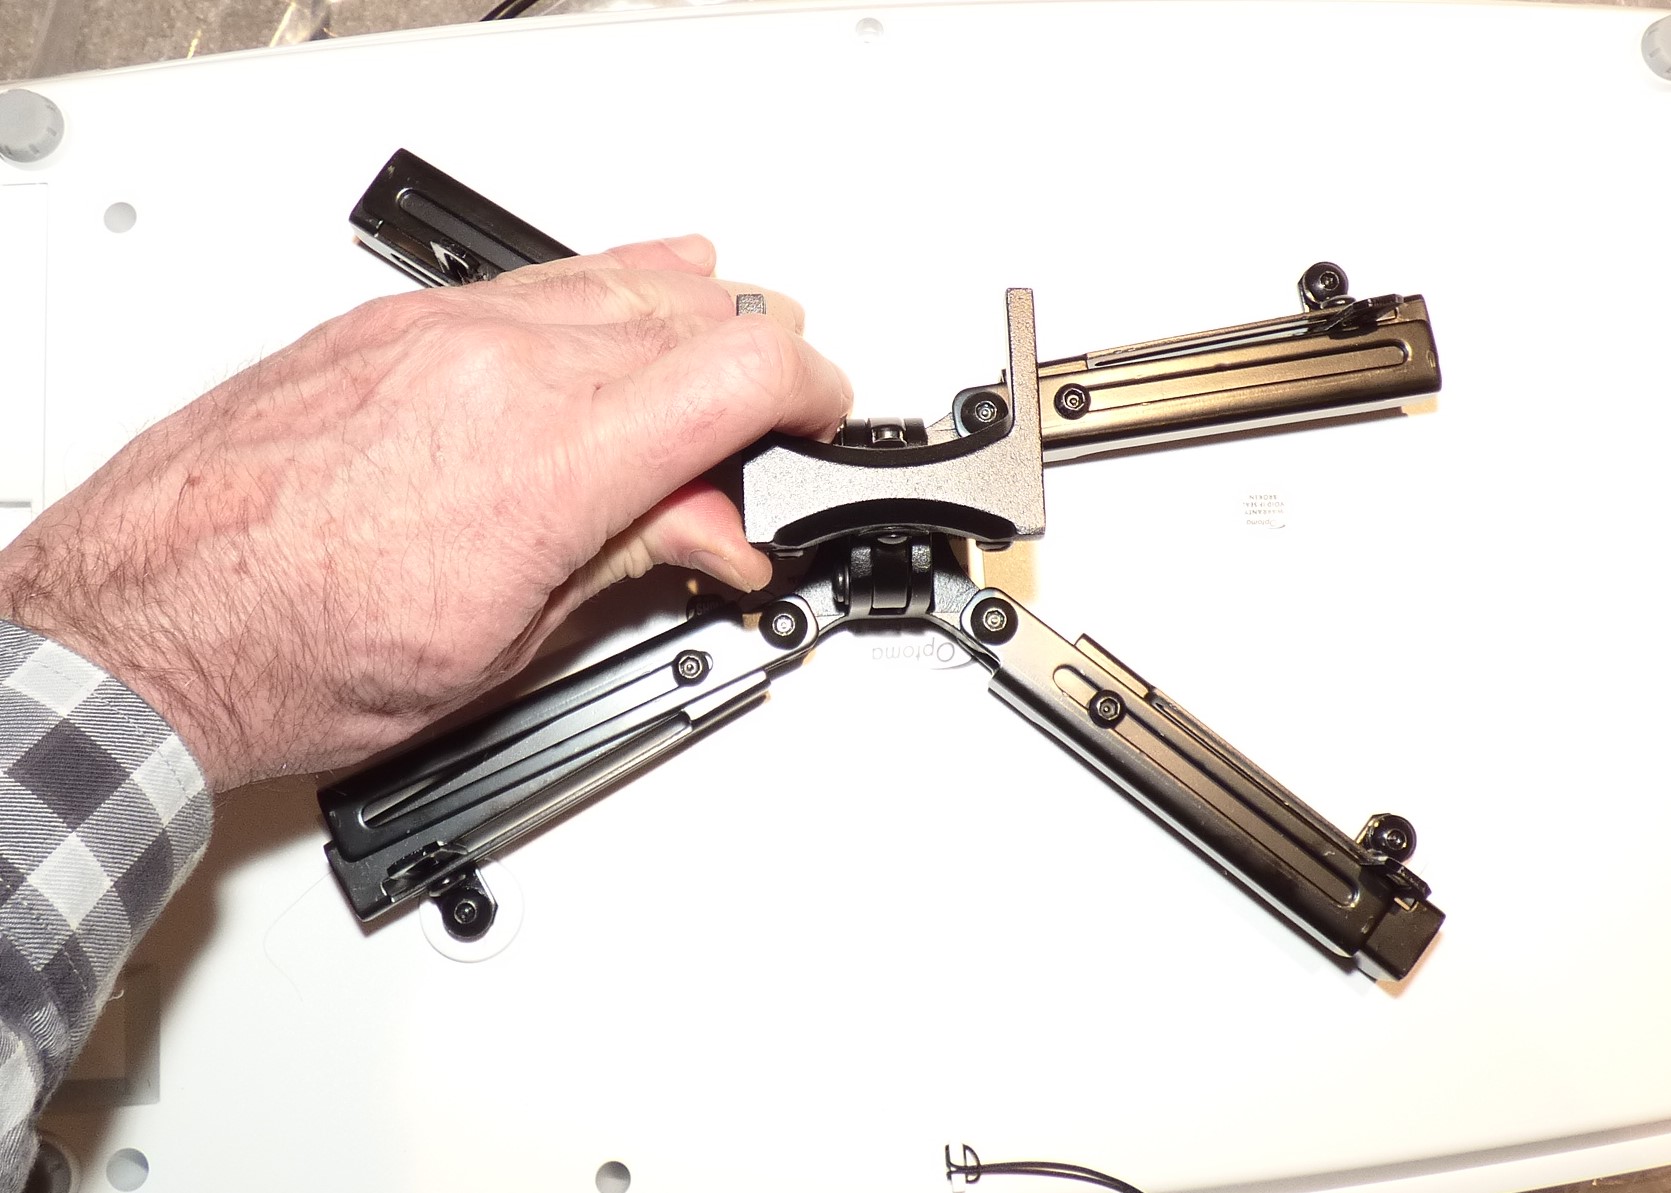
Turn the slide portion of the mount so it is facing forward. Then carefully tighten all Allen screws on the mount.
